Household Items that Protect Your In-Ground Garlic
Garlic planting time is fast approaching, Kats and Kittens; and as the nation’s foremost unofficial garlic ambassador and cheerleader, I have been urging many of you to grow garlic for the first time over the last month or so. And I now advocate for repeat offenders to consider possibly improving your technique.
First: A condensed review of what has come before in recent garlicky editions of the Gurney’s question of the week: • The cooler your winter climate, the more you should grow hardneck garlic (bigger, better tasting and more colorful than soft neck). Plant it in the Fall, approximately two months before your first frost; here in Southeastern Pennsylvania, mine goes in the ground mid-September.
• Softneck garlic does best in warmer climes. It is less flavorful and not at all colorful, but it does keep for long periods of time and braids easily to create festive vampire-stoppers.
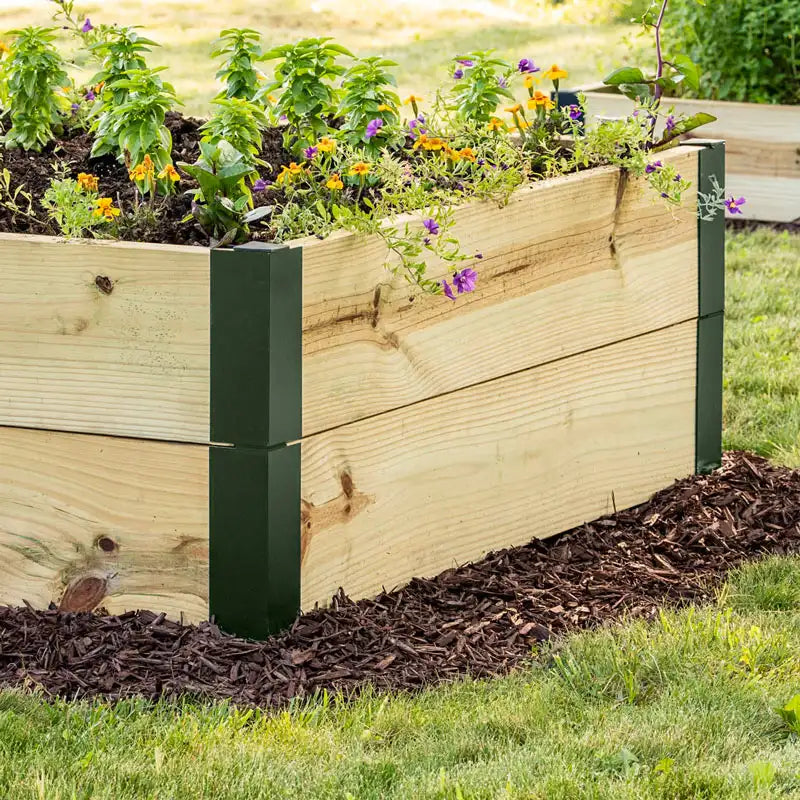
• Plant in the loosest, richest soil you can provide. As with all root crops (potatoes, beets, onions, etc.) the soil must be loose and light for the crop to achieve maximum size, flavor and shape. Raised beds are ideal. The heavily compacted soils of flat-earth gardens are guaranteed to produce small, poor-quality heads.
• Do not use supermarket garlic. Unless certified organic, it is likely to be treated with sprouting inhibitors—and you want your garlic to sprout uninhibited. You also won’t know what type or variety you’re growing. Start with garlic obtained from a nearby garlic-growing friend, a local ‘producer-only’ Farmers Market, or from a reputable “mail order” source. Obtain it NOW; good ‘seed’ garlic sells out fast.
• Ignore the advice of ‘influencers’ (unless you wish to repeat their mistakes). Some of the non-qualified advice appearing on the Wild Wild Internet ranges from weird to awful. Remember: “Bad gardening advice is like cockroaches; there are millions of them and they’re hard to kill.” Trust your local County Agricultural Extension office, especially for ultra-local advice and recommended planting dates—unless they contradict my advice; then do what I tell—ahem, ‘advise’—you to do.
• OK—the under-the-sink helpers I have been promising to tell you about are: baking soda and cheap vodka.
One of the problems that can occur after planting garlic in the same bed year after year is neck rot—especially in poorly-draining soils and/or years with way too much rain. Hey Look! Almost everyone out there put their hand up when I said “too much rain”. You can avoid you overwatering (the single biggest human cause of plant death), but as Creedence Clearwater Revival once (almost) sang, you can’t stop the rain.
I have been using this technique since I was the Editor of Organic Gardening magazine in the 1990s. I must have picked it up from someone, but the Mists of Time have become too cloudy to recall. Thank you, whoever you were!
At planting time, assemble your biggest cloves with nice tight wrappers and place them—10 or 12 at a time--into a solution of clean water (NOT city tap water) and two dissolved tablespoons of baking soda. Stir or shake it to ensure that every clove gets a good dose of the mixture. The timing can vary, but I’ll have an assembly line of cloves to plant and so I give it about 20 minutes.
Take the cloves out of the baking-soda solution and immediately put them in a different container full of 80 proof vodka (which is 40 percent alcohol), stirring gently (you don’t want to bruise the cloves) every once in a while, for a total of about an hour. Then take them out and plant them wet, a coupla’three inches down and six inches apart in every direction.
The baking soda will help prevent pathogens (like neck rot) from attacking after the clove is planted. The vodka kills any pathogens that may already be on the raw cloves, essentially sterilizing them. Put nothing else except the dirt you removed into the planting holes. Spread an inch or two of compost after planting as another disease-preventer (some of the living organisms in well-made compost eat pathogens directly, while others create a hostile environment for their spread).
You’ll probably see advice to mulch directly after planting. This is wrong. Winter mulch is designed to prevent the heaving and thawing of winter and keep the soil temperature constant, and so should be done right AFTER the first freeze. Shredded leaves are the ideal mulch for this—but don’t make the mulch too deep or you’ll make it difficult for the sprouts to emerge. Note: It is perfectly normal for green sprouts to appear late in the season. It is also perfectly natural for them not to appear until Spring. Relax and trust in the plants. At this point you could go away for months and they’ll be fine. Maybe better.
Sometime in mid-to-late Spring, ‘scapes’ (small bulges at the top of the main stalk) will appear on hardneck plants. Clipping off the scapes as soon as you can see them will produce larger bulbs. Placing those scapes in (full strength) red wine or other specialty vinegar will produce an excellent garlic vinegar after about a month (makes a great gift!). Strain and bottle the vinegar.
(WARNING!: Do NOT try and preserve garlic in oil; nasty and toxic things can breed in oil, like botulism. You CAN safely preserve naked garlic cloves in vinegar that’s 5% acidity or higher.)
Begin harvesting your garlic around the 4th of July, and/or when the bottom third of most of the plants have turned yellow or brown, as detailed in our previous Gurney’s questions of the week on this topic.
First: A condensed review of what has come before in recent garlicky editions of the Gurney’s question of the week: • The cooler your winter climate, the more you should grow hardneck garlic (bigger, better tasting and more colorful than soft neck). Plant it in the Fall, approximately two months before your first frost; here in Southeastern Pennsylvania, mine goes in the ground mid-September.
• Softneck garlic does best in warmer climes. It is less flavorful and not at all colorful, but it does keep for long periods of time and braids easily to create festive vampire-stoppers.
• Plant in the loosest, richest soil you can provide. As with all root crops (potatoes, beets, onions, etc.) the soil must be loose and light for the crop to achieve maximum size, flavor and shape. Raised beds are ideal. The heavily compacted soils of flat-earth gardens are guaranteed to produce small, poor-quality heads.
• Do not use supermarket garlic. Unless certified organic, it is likely to be treated with sprouting inhibitors—and you want your garlic to sprout uninhibited. You also won’t know what type or variety you’re growing. Start with garlic obtained from a nearby garlic-growing friend, a local ‘producer-only’ Farmers Market, or from a reputable “mail order” source. Obtain it NOW; good ‘seed’ garlic sells out fast.
• Ignore the advice of ‘influencers’ (unless you wish to repeat their mistakes). Some of the non-qualified advice appearing on the Wild Wild Internet ranges from weird to awful. Remember: “Bad gardening advice is like cockroaches; there are millions of them and they’re hard to kill.” Trust your local County Agricultural Extension office, especially for ultra-local advice and recommended planting dates—unless they contradict my advice; then do what I tell—ahem, ‘advise’—you to do.
• OK—the under-the-sink helpers I have been promising to tell you about are: baking soda and cheap vodka.
One of the problems that can occur after planting garlic in the same bed year after year is neck rot—especially in poorly-draining soils and/or years with way too much rain. Hey Look! Almost everyone out there put their hand up when I said “too much rain”. You can avoid you overwatering (the single biggest human cause of plant death), but as Creedence Clearwater Revival once (almost) sang, you can’t stop the rain.
I have been using this technique since I was the Editor of Organic Gardening magazine in the 1990s. I must have picked it up from someone, but the Mists of Time have become too cloudy to recall. Thank you, whoever you were!
At planting time, assemble your biggest cloves with nice tight wrappers and place them—10 or 12 at a time--into a solution of clean water (NOT city tap water) and two dissolved tablespoons of baking soda. Stir or shake it to ensure that every clove gets a good dose of the mixture. The timing can vary, but I’ll have an assembly line of cloves to plant and so I give it about 20 minutes.
Take the cloves out of the baking-soda solution and immediately put them in a different container full of 80 proof vodka (which is 40 percent alcohol), stirring gently (you don’t want to bruise the cloves) every once in a while, for a total of about an hour. Then take them out and plant them wet, a coupla’three inches down and six inches apart in every direction.
The baking soda will help prevent pathogens (like neck rot) from attacking after the clove is planted. The vodka kills any pathogens that may already be on the raw cloves, essentially sterilizing them. Put nothing else except the dirt you removed into the planting holes. Spread an inch or two of compost after planting as another disease-preventer (some of the living organisms in well-made compost eat pathogens directly, while others create a hostile environment for their spread).
You’ll probably see advice to mulch directly after planting. This is wrong. Winter mulch is designed to prevent the heaving and thawing of winter and keep the soil temperature constant, and so should be done right AFTER the first freeze. Shredded leaves are the ideal mulch for this—but don’t make the mulch too deep or you’ll make it difficult for the sprouts to emerge. Note: It is perfectly normal for green sprouts to appear late in the season. It is also perfectly natural for them not to appear until Spring. Relax and trust in the plants. At this point you could go away for months and they’ll be fine. Maybe better.
Sometime in mid-to-late Spring, ‘scapes’ (small bulges at the top of the main stalk) will appear on hardneck plants. Clipping off the scapes as soon as you can see them will produce larger bulbs. Placing those scapes in (full strength) red wine or other specialty vinegar will produce an excellent garlic vinegar after about a month (makes a great gift!). Strain and bottle the vinegar.
(WARNING!: Do NOT try and preserve garlic in oil; nasty and toxic things can breed in oil, like botulism. You CAN safely preserve naked garlic cloves in vinegar that’s 5% acidity or higher.)
Begin harvesting your garlic around the 4th of July, and/or when the bottom third of most of the plants have turned yellow or brown, as detailed in our previous Gurney’s questions of the week on this topic.
