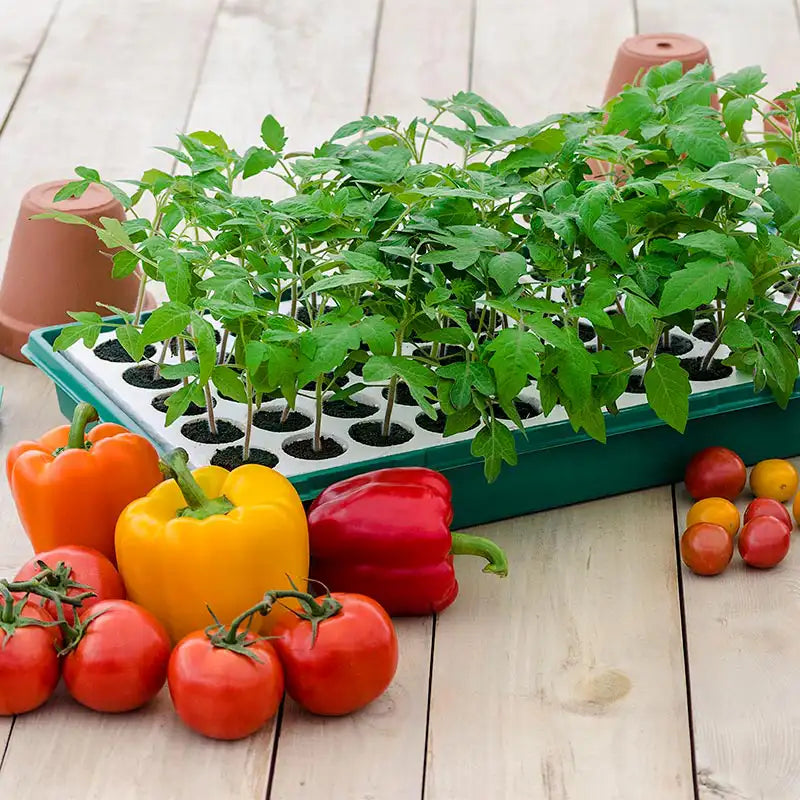
How to Start Your Own Seeds—if You Dare!
If you’re a great gardener, do not assume that you will also be a great seed starter. It is much easier to nurse professionally grown starts through an entire season than to produce acceptable looking baby plants over the course of six to eight weeks. My first attempts at seed starting were terrible, but I learned from each failure, and by year three I was pretty good at it. Here’s a primer on how to achieve success:
• Be prepared to pivot. If after a month, your starts are pale, skinny or otherwise hopelessly awful looking, give it up, buy your starts professionally grown that year, and learn from your mistakes.
• Get your timing right. Estimate your garden’s ‘last average frost date’ and be ready to plant outdoors about two weeks after that. Rushing the plants into cold weather will (not could; WILL) delay your harvest by up to a month. After that ‘last average frost date’ occurs, keep your plants inside until several long-range forecasts call for nights reliably in the 50s. Daytime temps don’t count; it’s the nighttime lows that are painful to tropical plants. Basically, we’re talking starting your seeds about eight weeks before you can realistically take them outside—and wait longer if nights are chilly. (See Gurney’s Exclusive Notes below.)
• What you’ll need:
o Professional containers, ideally the ones garden centers use. Yes, they’re plastic, but you’ll re-use them so many times that they’ll eco-amortize. Don’t use containers that are too shallow or that don’t hold enough seed-starting mix. Want to experiment with other types? Wait until the year after you produce your first healthy plants.
o Bagged Organic seed starting mix (not anything with the word ‘Miracle’ or any other chemical fertilizer indicator on the label). Don’t worry about the cost; one decent sized bag will last you many seasons. If you want to try mixing your own, wait until you get it right out of a bag first.
o Grow lights. As I have often said, “sunny windowsill” is Latin for “I’m why your plants died”. Unless you have a real indoor conservatory or attached greenhouse that’s warm and provides lots of light or a big three-dimensional bay window that doesn’t get cold at night, buy a fixture that holds two LED tubes that look like old-school fluorescents, but are brighter, cheaper to run and give off only a small amount of heat. Again, you will amortize these over the years and/or use them to grow light-hungry houseplants indoors.
o Optional: Heating mats. You should be fine raising starts in a warm room in your home, but an inexpensive heating mat will always produce more vigorous starts and do so faster. Otherwise, make sure the area is far away from hot air vents and/or radiators. And choose a room where the temperature doesn’t drop at night.
We begin:
Fill your containers about 80% of the way with seed-starting mix. Place the containers in a sink holding several inches of non-tap city water. Place a brick or large stone on top to keep them from floating, as they will be very light. Remove them after an hour or two and note how heavy they feel when saturated. Place them in the drainboard for an hour, then on top of a shallow pan that has a lip to hold water. Old baking trays (known professionally as ‘sheets’) are ideal.
In many cities the {ahem} ‘drinking water’ contains chemicals that can harm plants. Only use rain water (melt some snow if you have to!) or water that you have personally filtered because you already knew not to drink city tap water.
Place the tray on top of the heating mats if you have them. Place two seeds of each variety directly on top of the soil in every ‘cell’ of one container. Stop now and write the variety name on two plant markers with permanent ink. Choose one end of that container and place the markers at the outside edge of two adjoining cells. Cover the seeds with about half an inch of seed-starting soil. Mist the tops gently, but do NOT otherwise water from above.
Stretch a sheet of plastic wrap like Cling Wrap overtop of the containers and check the set-up daily. If you don’t see water beading up on the inside of the plastic wrap pour some clean water into the baking sheet/tray thing. The soil will absorb the water through the container’s drainage holes. Do not water from above. (See Gurney’s notes below.)
Check daily for signs of sprouts and remove the plastic as soon as 50% of the containers show green. You can keep the heating mat on until they’re all up, but then turn it off. (See notes.)
Lights. Position the tubes no more than an inch above the tops of the plants; lumens drop off greatly beyond that. Arrange your set-up so that the lights can be raised or lowered with the chains that came with the unit to maintain that inch. Or start out with your trays on top of books that you can remove as the plants grow taller.
Watering: Check several times a week by lifting one of the containers. If it feels heavy, don’t water. If it feels light, add clean water to the tray.
Food: Organic seed-starting mixtures contain natural nutrients like worm castings, so wait a good month after emergence to begin adding a dilute solution of liquid organic fertilizer to the tray. Or spread about a half-inch of worm castings on top of the soil and mist the soil daily for a few days.)
Bonus: Here are a few more tips and tricks I wanted to share and/or explain, but ran out of time so I have added them here. Check it out!
Timing: Based on species (tomato vs peppers for instance) starter plants can grow at wildly different rates. Tomatoes for instance grow taller much faster than peppers, which is fine for the tomatoes so long as the stems are good and stocky; long and skinny is bad and almost impossible to repair.
What to do? I recommend starting pepper plants a full month before other plants. That will give them some size when the others begin to sprout and grow. You might also want to do an uneven book stacking so you can try and keep the tops of all (or most) of your plants at the same height.
If you have a wonderfully warm sunny day and good-looking plants that are at least six weeks old (after sprouting) you can take them outside to enjoy the sun, but don’t leave them out overnight. You have now begun the process of ‘hardening off’ in preparation for planting, both of which we shall cover in detail in a few weeks. Make sure the plants are well-watered for this adventure; and again, water from the bottom. Repeat daily if days are sunny and warm.
Do not water from above: It can dislodge seeds early in the game. It can physically damage young plants. It can interfere with the proper growth of the root system. And it’s messy. Use the containers’ drainage holes. Misting from above is fine—and beneficial.
Plastic wrap: Use your common sense here. If a few cells—or even entire containers—show nothing at the time of plastic wrap removal, move the heating mat to another area, place the empty cells on their own tray above the heat (use scissors to separate single or double cells if you have to), reseal everything that’s on your tray-of-no-plants with fresh plastic wrap, and water from below. You might get lucky. (Unsprouted seeds need no light; just bottom heat.) Make sure to keep the sprouted plants close to your lights. But increase the distance and possibly the water if your lights run hotter than mildly warm. Don’t burn your plants!
